How to Blur Face in Picsart? Make Elegant Blur Photos 2024
Blur Face in PicsArt is a popular editing feature used by editors to blur faces in images and redirect attention to other parts of the image.This feature can be beautifully used for privacy concerns.
PicsArt app is a very simple and helpful tool for making great images to share with friends and family on social media platforms. In this article, we’ll learn how to apply a blurred face effect on photos and achieve impressive results quickly and effortlessly.
What is Blur Face in Picsart?
Blurring faces in PicsArt involves Hiding the subject’s face in an image, shifting focus away and highlighting another part, like the background. Users often choose to blur faces to add an artistic and thoughtful touch to their photos.
Why Do You Need To Blur your Face?
There can be many reasons to use a blur face image in PicsArt. Two main reasons are mentioned as under:
- Social Media Privacy: Blur faces to protect the privacy of certain family members from being seen by your social media followers.
- Aesthetic Appeal and Focus Shifting: Utilize the face blur tool in PicsArt to enhance the visual appeal of photos by redirecting viewer attention to other significant aspects of the image.
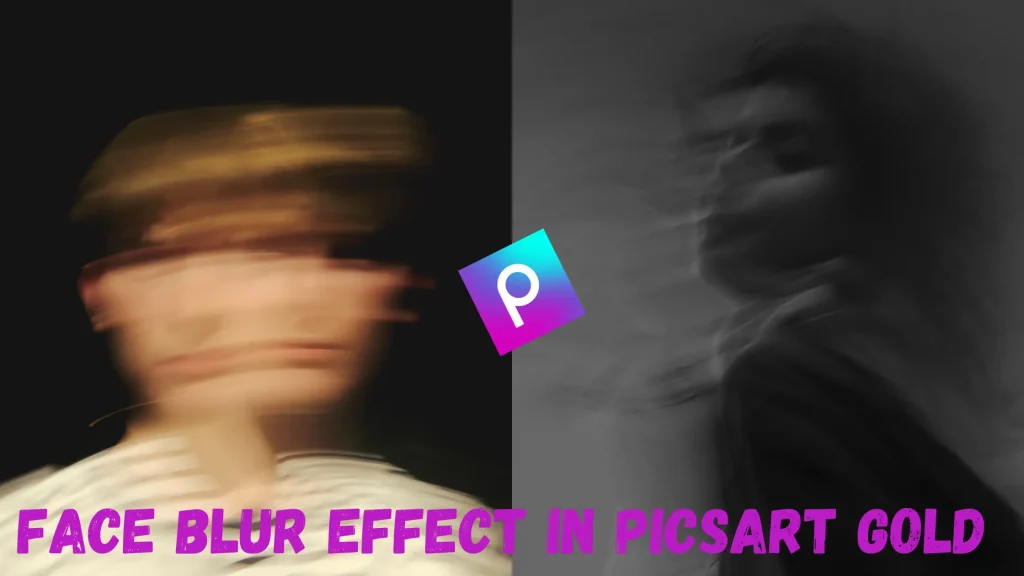
Different Types of Blur Effects in PicsArt
PicsArt offers various face blur effects to enhance the look of your photos, giving them a stylish and polished appearance. Let’s explore some of these blur face effects in the PicsArt app:
Motion Blur
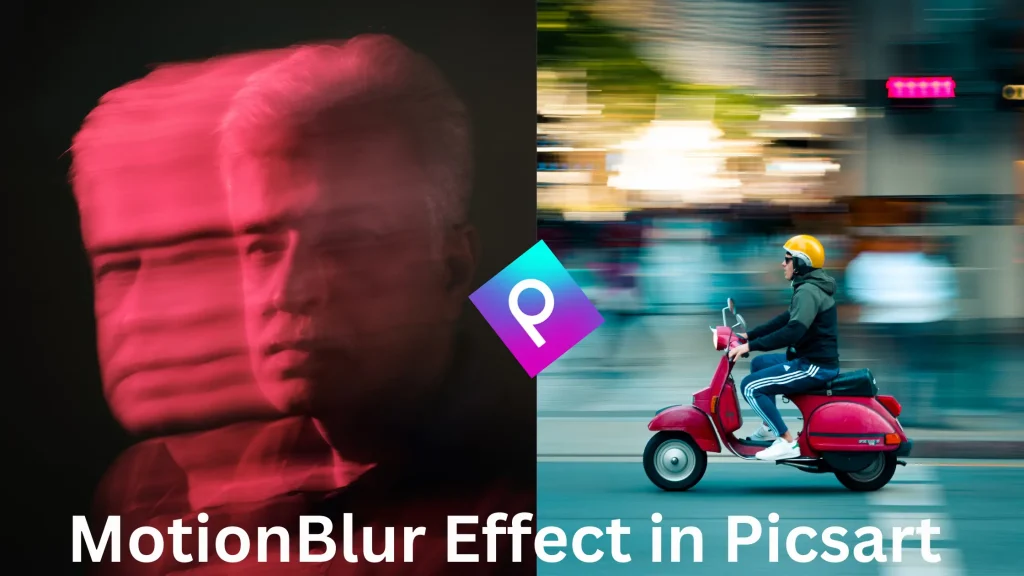
The Motion Blur effect in the PicsArt app makes things in your photos look like they’re moving by adding lines. It’s great for action shots, like pictures of fast-moving objects or vehicles. To use it, just pick the blur option and adjust how strong you want it. You can also adjust settings like noise, angle, and distance to get the look you want.
Radial Blur
In PicsArt, the Radial Blur effect blurs the background of a picture, making a circle blur around the main point. It’s great for drawing attention to something specific or making a shallow depth of field. People often use it with pictures of fast-moving things like trains or cars to show speed.
Tilt-Shift Blur
The Tilt-Shift Blur tool in PicsArt is a fantastic way to make objects in your picture look small, creating a forced perspective effect. By adjusting the blur intensity settings in the PicsArt app, you can add interest to your selected image.
Bokeh Blur
‘Bokeh’ translates to ‘blur’ in Japanese. The PicsArt Bokeh Blur technique is highly effective in enhancing the aesthetic appeal of your chosen image. With this effect, you can craft a dreamy and enchanting composition, elevating the creativity of your image. By adjusting the background lighting, the Bokeh Blur effect creates a soft and ethereal appearance, suitable for both light and dark images.
Step by Step Guide: How To Add Blur Face Effect in your photo Picsart?
You can use this step-by-step guide to learn how to blur faces in photos using PicsArt.
Opening Picsart App and Importing Image

- Launch the ‘PicsArt App‘ on your device.

- Click on the ‘+’ icon at the bottom of your screen (in case of mobile phone) and ‘create a new project’.

- Now, “choose and import “the photo from your device’s gallery that you’d like to apply the blur face effect to in Picsart.
Choosing and Applying Blur Effect in PicsArt

- Once the image is imported, click on it to open the ‘Picsart editing interface’.

- Now, it’s time to add the face blur effect to your image. Tap on the ‘Effects’ icon.

- Browse through various effect options and select the “Blur” option.

- Choose a specific blur effect option from the list, such as Motion Blur, Radial Blur, Bokeh Blur, etc.

- The next step is to ‘adjust intensity settings’ of the chosen blur effect for your image.

- Once you are satisfied, click ‘OK’.
Choose the Face selection tool and apply the face blur effect in PicsArt

- Now, the next step is selecting the face part of your image and applying the face blur effect in PicsArt.

- Click on the ‘Tools’ icon and select from the available tools (AI Select, Rectangle, Lasso, Oval, etc.) to select and mask the face section of the chosen image.

- Once the face has been selected, click on the ‘Effects’ icon.

- Again, choose the ‘face blur effect’that you want to apply.

- Control and adjust the face blur intensity .

- If you satisfied, click ‘OK’.
Improving and Enhancing Face Blur Effect That You Have Applied

- Utilize other available slider adjustments such as hue, brightness, saturation, and contrast to fine-tune the blur face effect that you’ve applied to your image.

- Experiment with the diverse array of Picsart filters and effects to elevate and enrich your image.
Saving and Exporting the Final Blur Face Image Output in PicsArt

- Once you’re content with your edited image, click “OK” and then tap on the checkmark icon to save your photo.

- Choose the desired resolution and export file format for your edited image.

- Finally, click ‘DONE’ and the image with the blur face in Picsart will be saved in your device’s gallery.
Advanced Tips and Tricks for Aesthetic Face Motion Blur Effect in PicsArt
To craft new, unique, and trendy face motion blur effects in the Picsart app, elevating your photos to an aesthetic and next-level standard, consider these advanced tips and tricks:

- Play around and adjust different ‘blending modes’ in Picsart to get new and trendy blur face effects like Bokeh Blur.

- For a custom blur effect in your image, use multiple blur options and overlap them with different blend modes that fit well together.

- If you do not want the blur effect in certain part of your image, simply use the ‘Eraser Tool’ to remove the blur effect.

- Enhance your edited images by incorporating ‘Additional Elements‘ through the exploration and utilization of other useful Picsart tools. Consider adding stickers, overlays, effects, text, borders, frames, and more to elevate your creations.
FAQs
Conclusion
In conclusion, getting good at using blur face in Picsart lets you create really nice-looking photos. It helps add privacy and mystery to your pictures, which is great for social media.
Keep trying out Picsart’s different editing tools and effects to make your photos even better and more interesting!

